
Incoming File/Fax Q Introduction
The Incoming File/Fax Q allows for viewing/indexing of incoming faxes. Within the module, a file can be previewed or opened, tasks generated, file sent to a new user or department, or indexed directly within the queue or WebScan. This module has recently been updated to now include additional information when opening the file. When a user opens the file, they will see a summary of that document. The summary includes the File ID, Date and Time it was created in the queue, the Sender’s fax number, and the status. When a user hovers over this information, a set of shortcut icons are displayed. The icons will be reviewed in the Documentation section. The Incoming File/Fax Q is a feature that can be added or upgraded for an additional cost.
Incoming File/Fax Q Set-Up
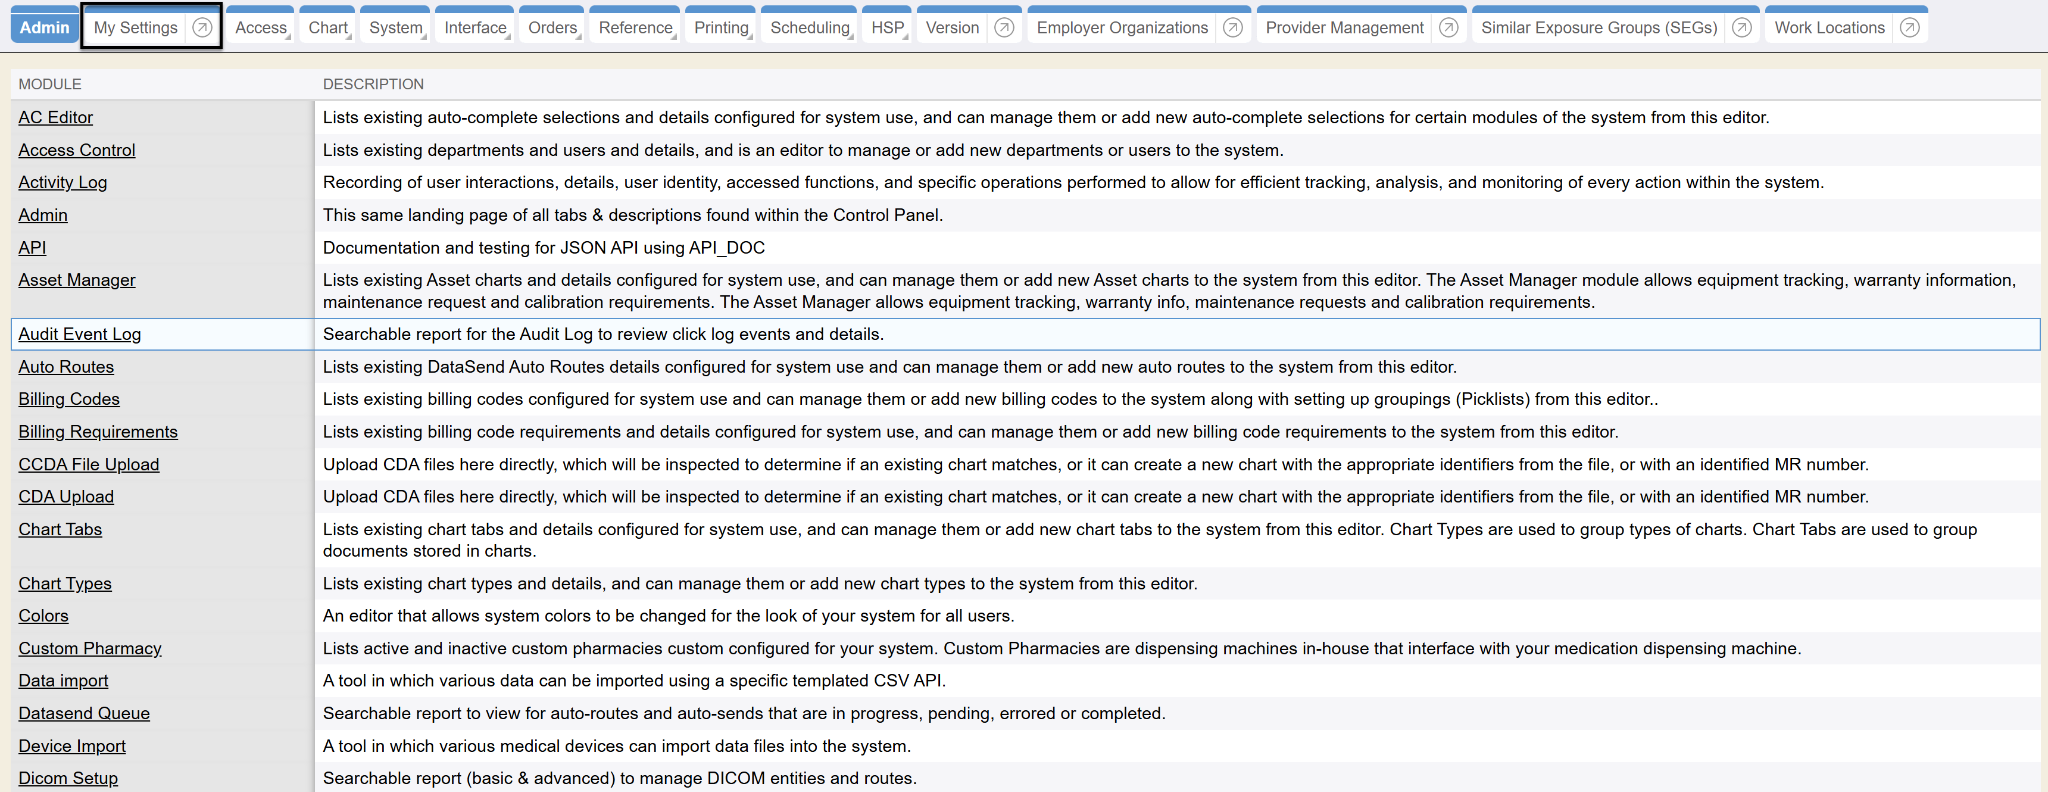
- To enable the new Incoming File/Fax Q, go to the Control Panel on the left side menu, and click on the My Settings tab.
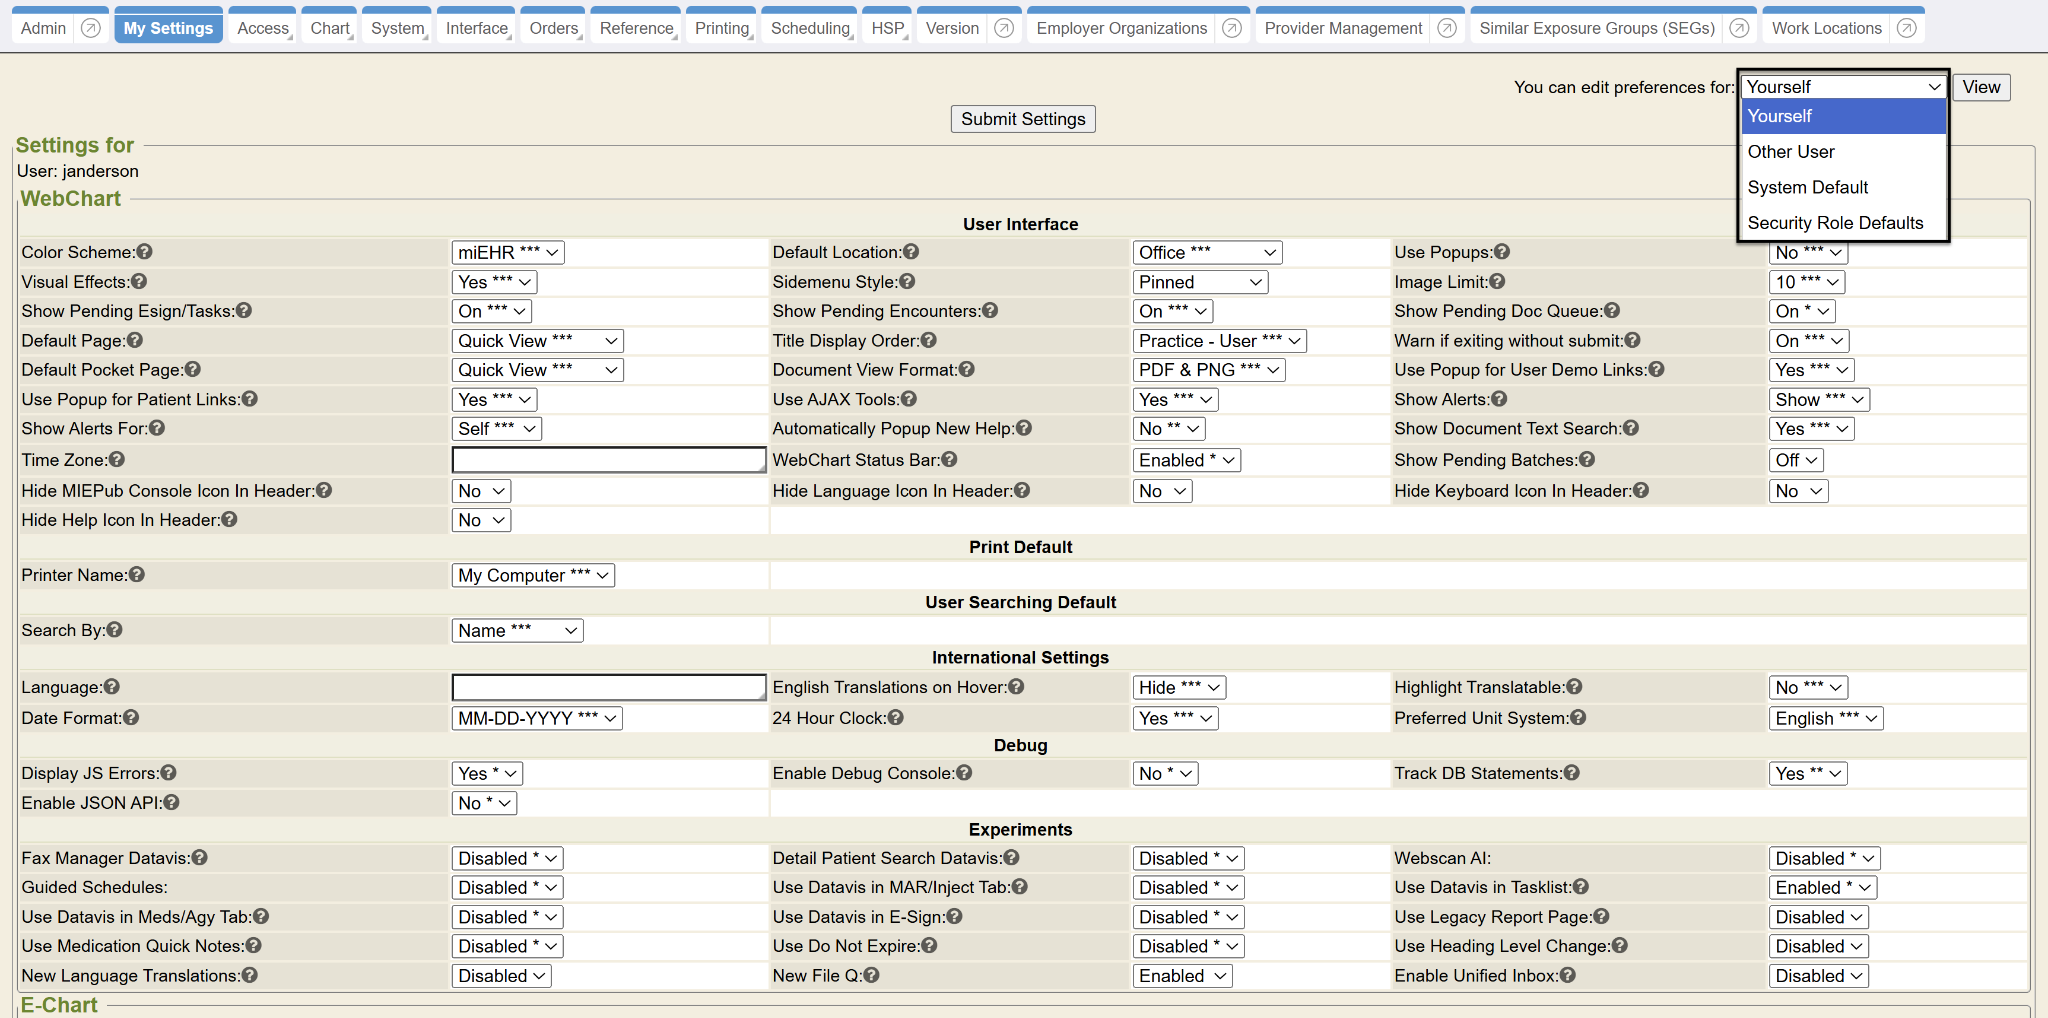
- Select yourself, a different user, security role or system wide and click the “View” button to enable the new queue.
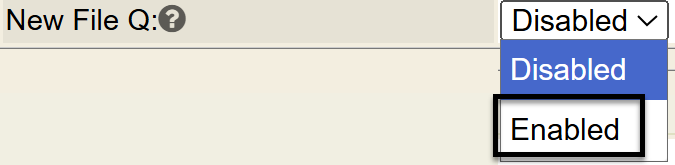
- Update the New Fax Q setting to Enabled
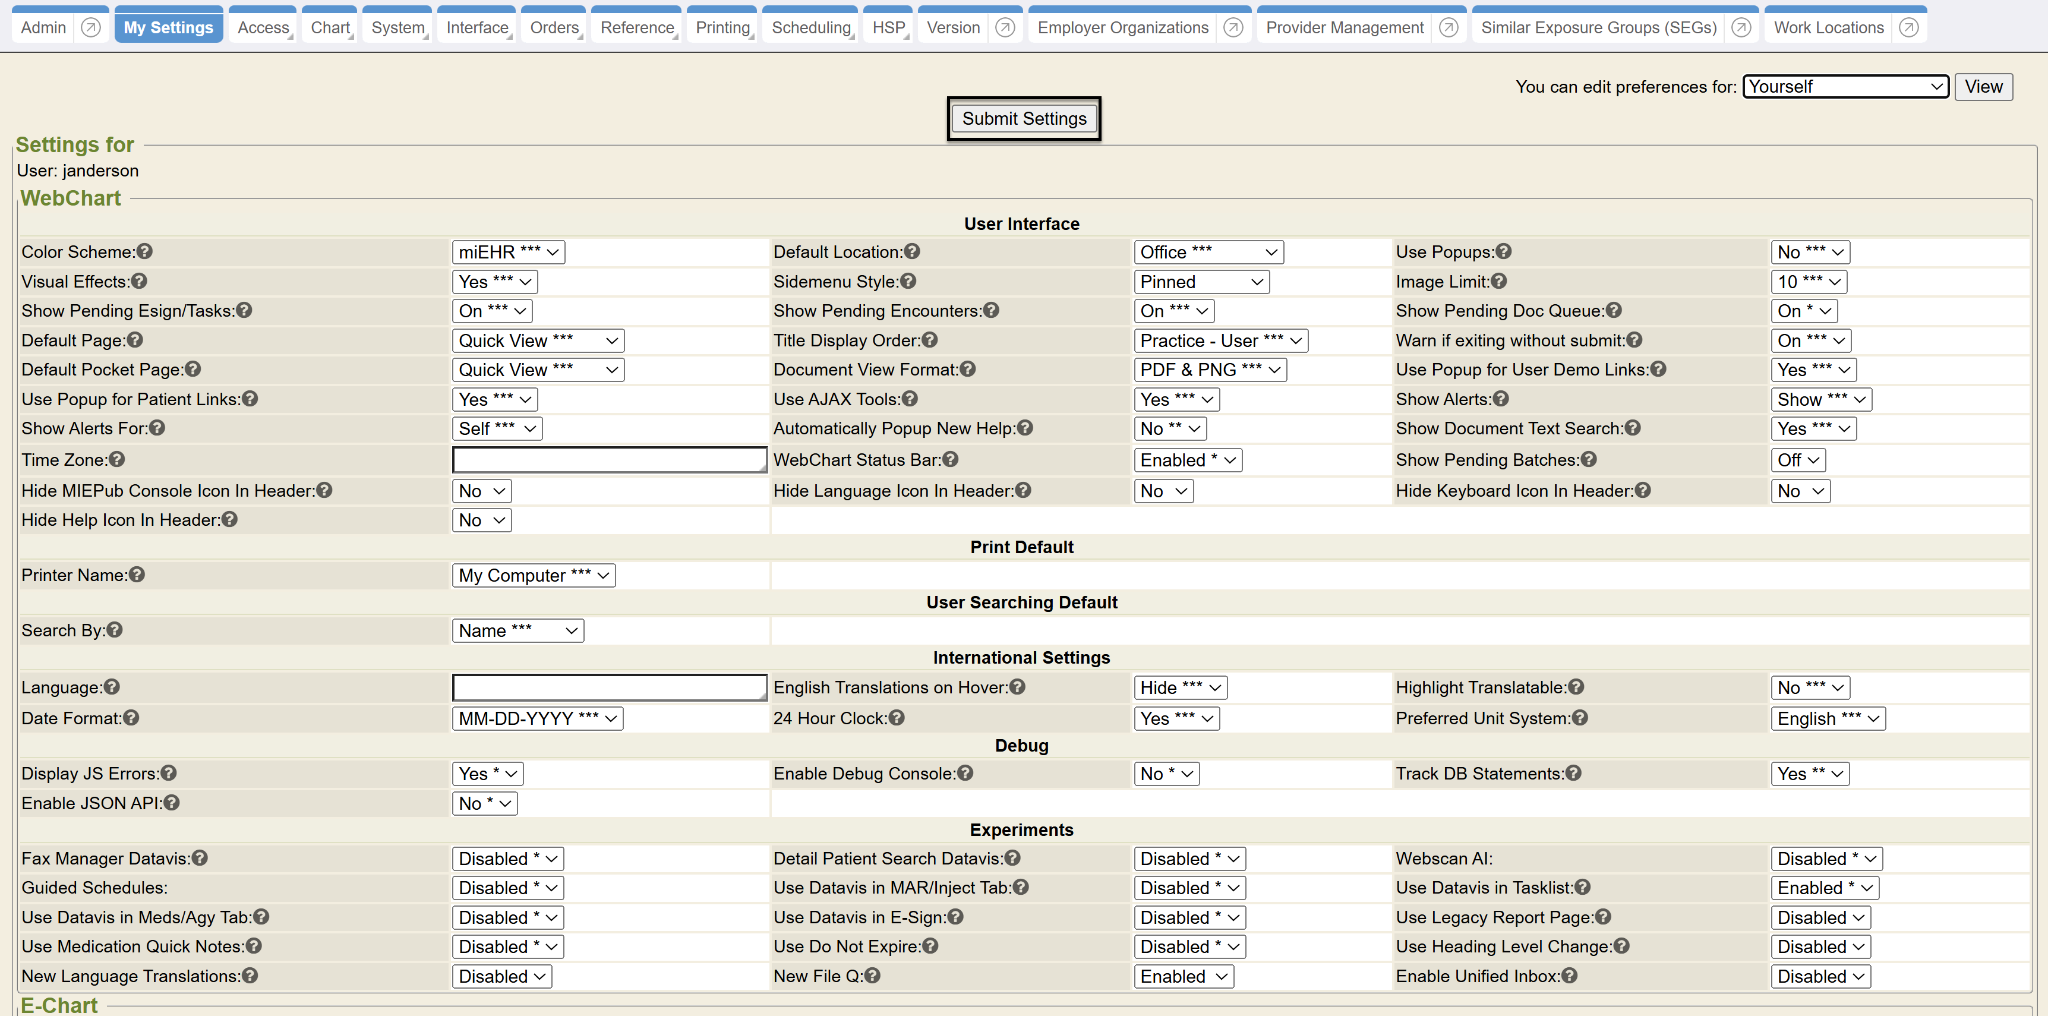
- Click the “Submit Settings” button
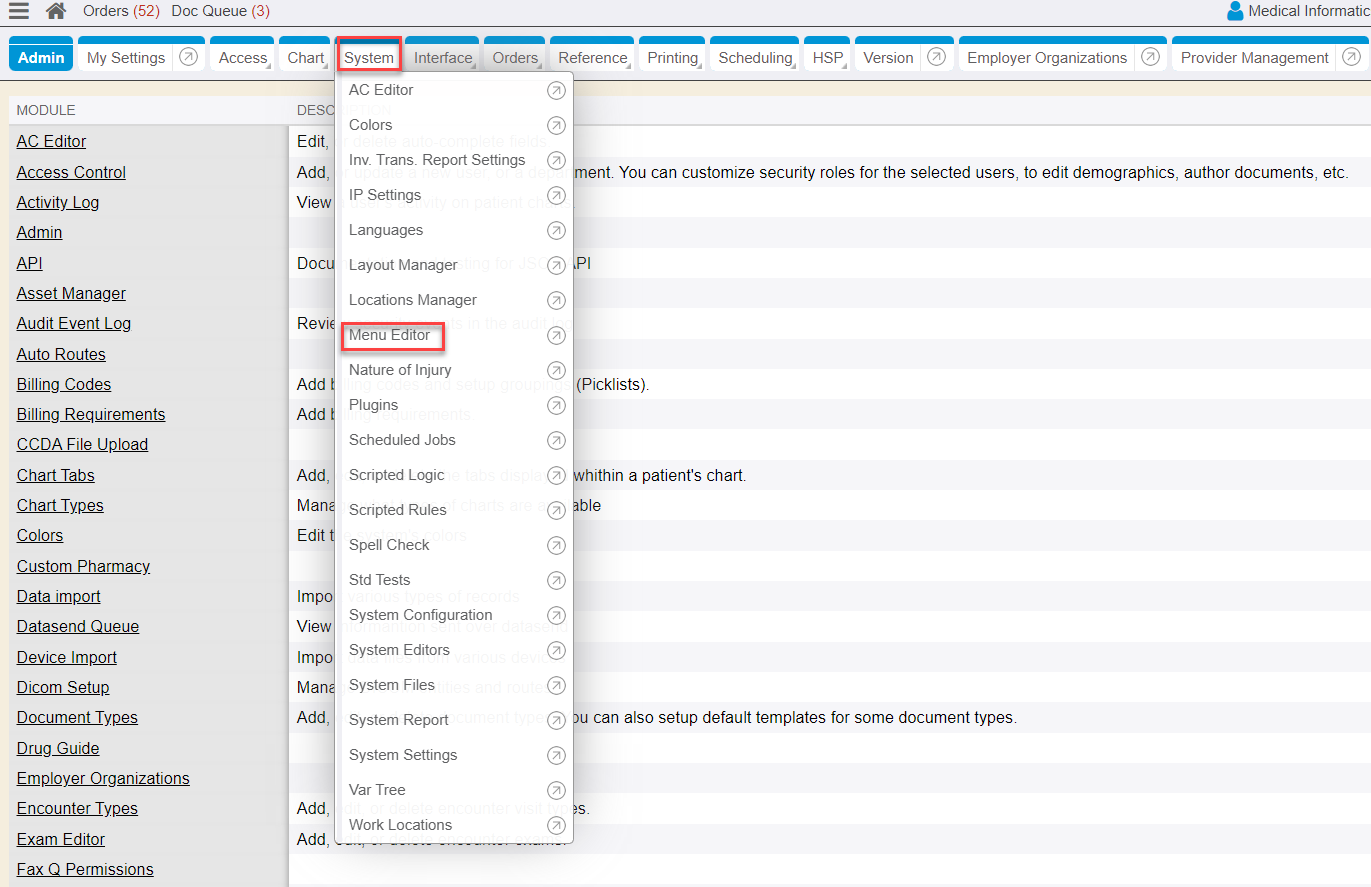
- From the Control Panel on the left side menu, click on the System chart tab and then click on the Menu Editor sub-tab
- Click the Add Menu Item link in the right corner

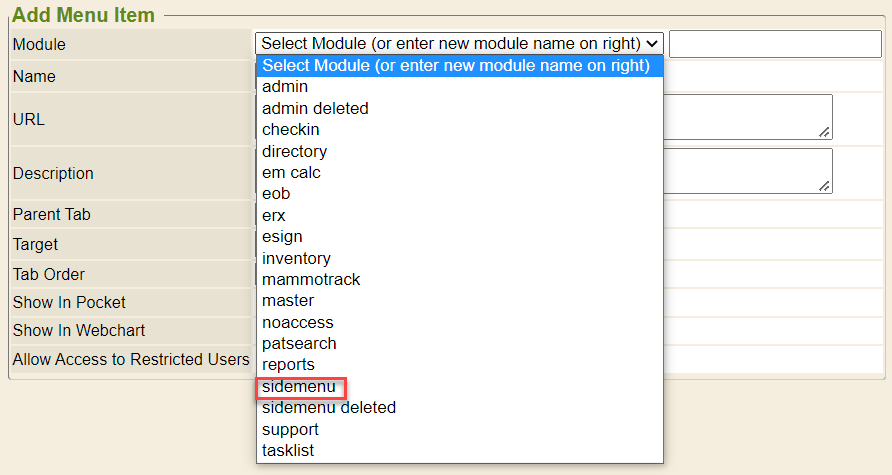
- Click on the drop-down for Module and select sidemenu
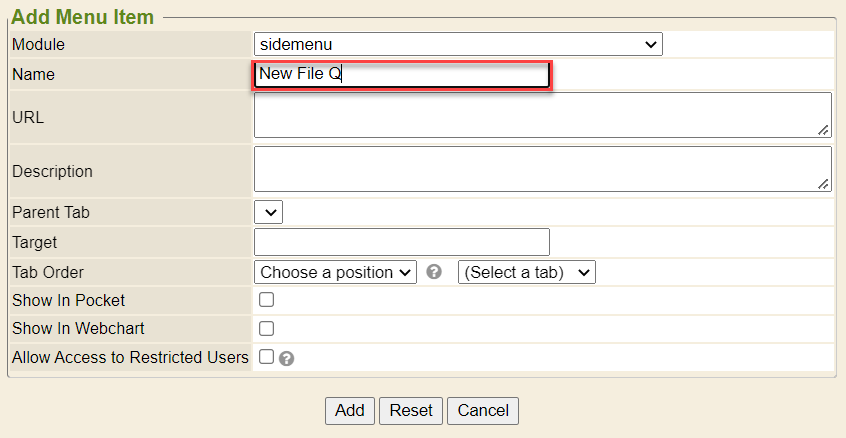
- Add the Name for the sidemenu item (File Queue)
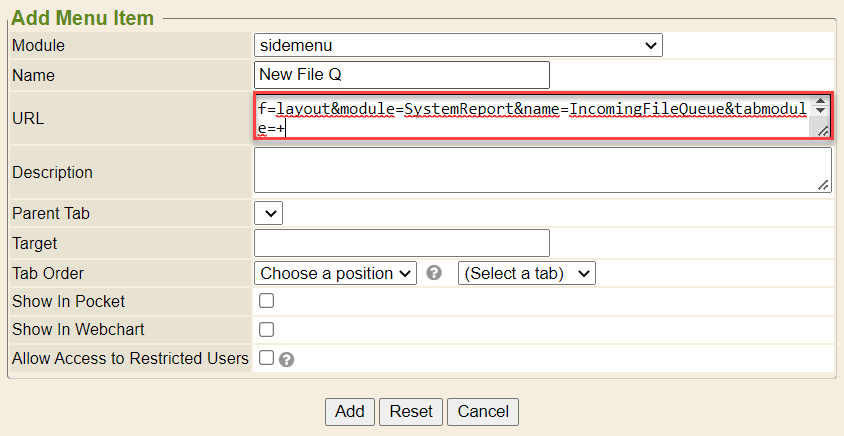
- Add the URL - ?f=layout&module=SystemReport&name=IncomingFileQueue&tabmodule=+
- Add the Target of mainwindow
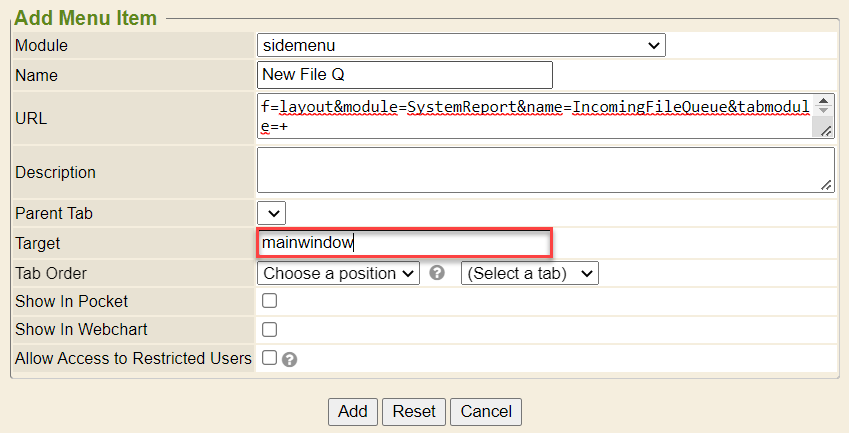
- Click on the Tab Order drop downs to set where the New File Q option will be located on the sidemenu
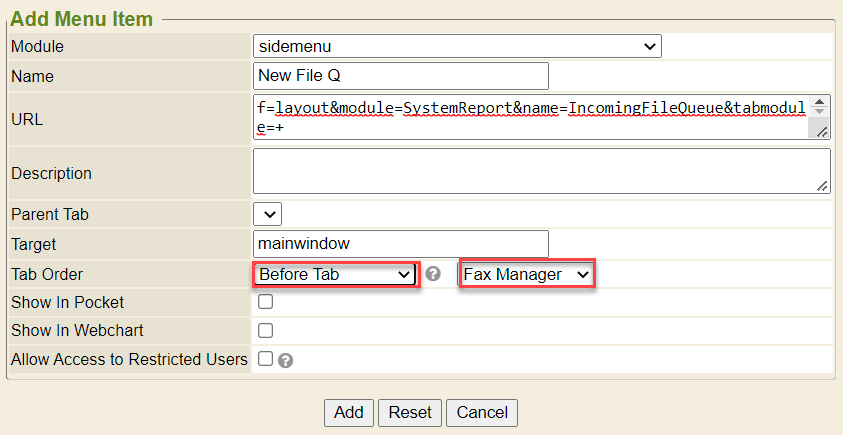
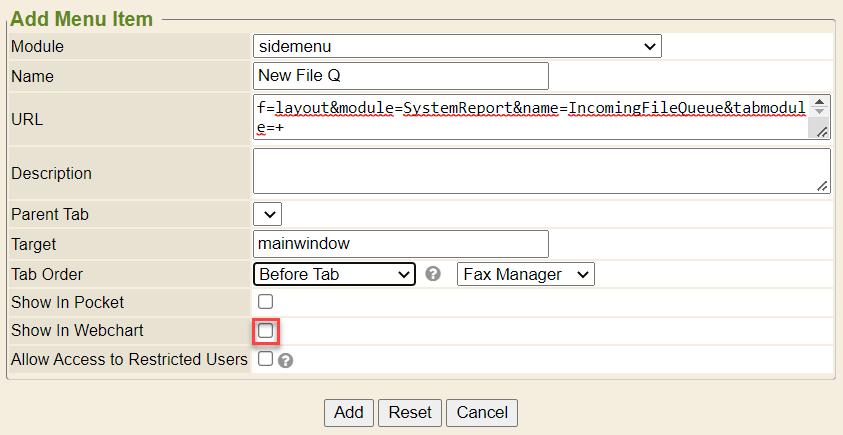
- Click the checkbox for Show in Webchart
- Click the “Add” button
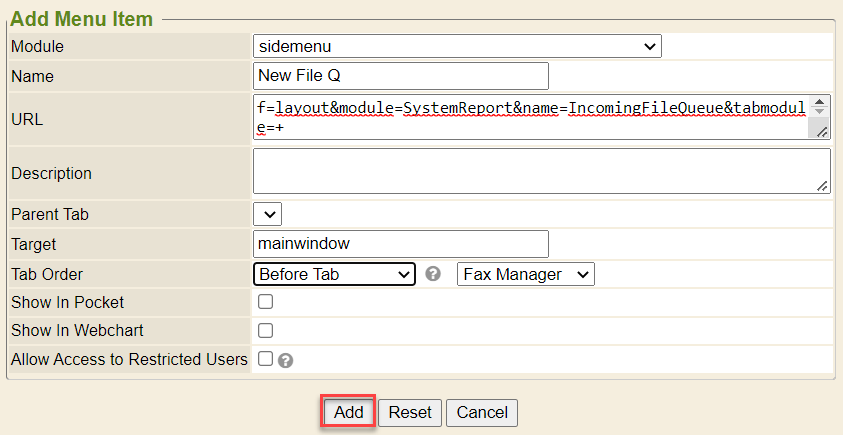
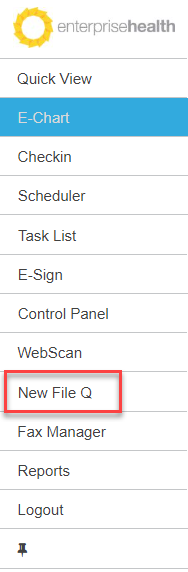
- After a screen refresh, the new sidemenu tab for the File Queue will display
Using the Incoming File/Fax Q
Search
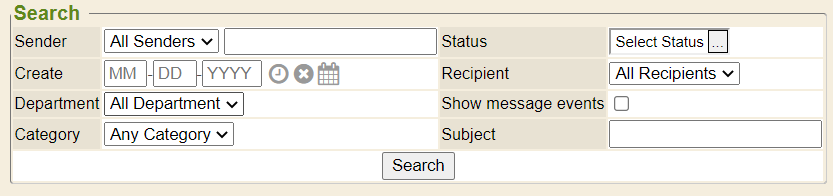
- Click the Search link in the top right corner of the Incoming File/Fax Q sidemenu tab

- Additional filters display for a user to narrow the search by the available categories
Categories
- Click the Categories link in the top right corner

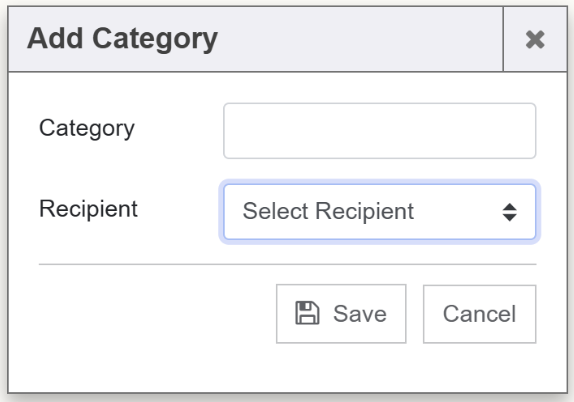
- Click the Add Category link in the top right corner

- Add a Category description to group by a recipient group/department or other identifier (which allows for filtering within the file queue), instead of remembering a specific number to filter by. Select the Recipient from the drop down and click the “Save” button.
Mappings
- Click the Mappings link in the top right corner

- Click the Mapping link in the top right corner
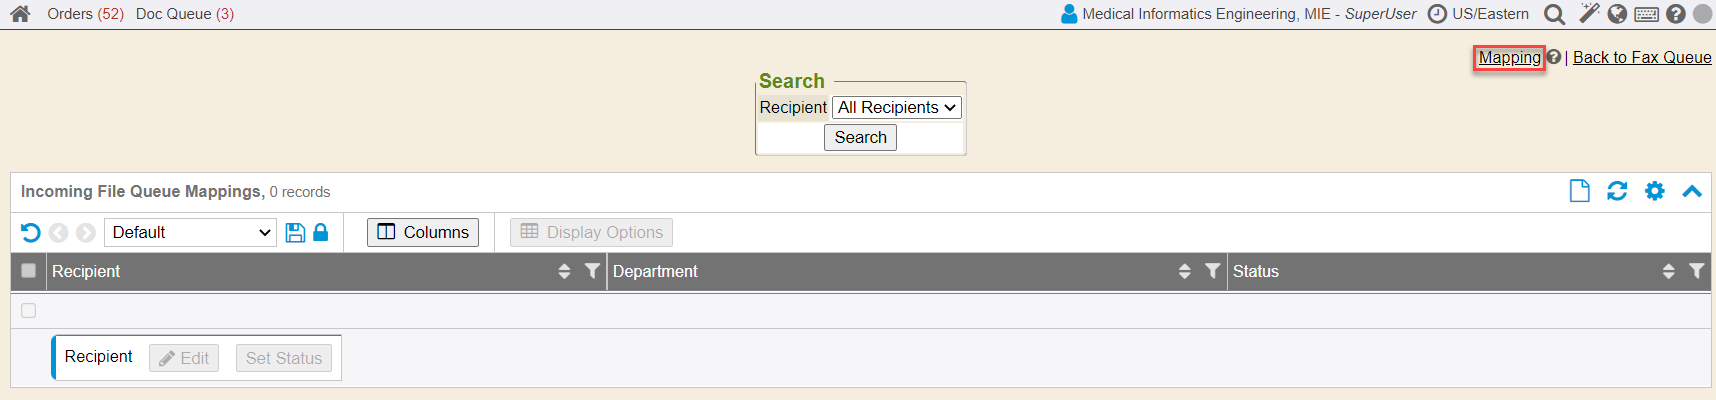
- Select a Recipient or add a recipient and then select the department that will be mapped. Click the “Save” button.
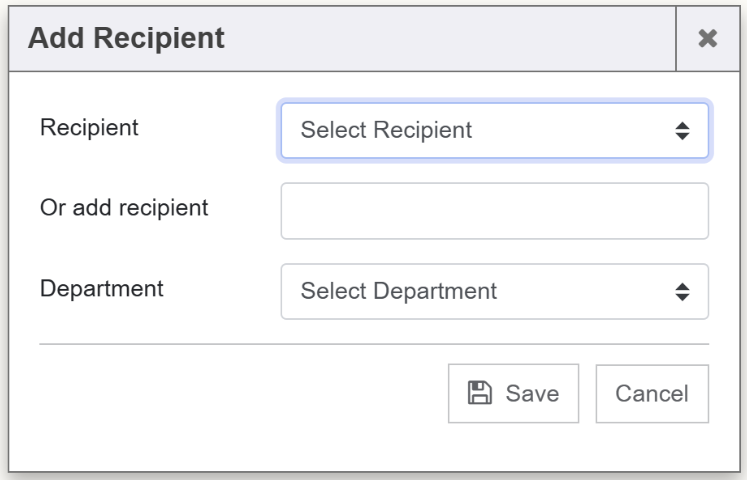
Grid Options
Edit
- Click “Edit” button

- Select a Category and Recipient (file) to move between the two areas, if one needs to be updated. The Subject can also be added/changed. Click the “Save” button.
Send
- Click “Send” button to send the file to another user or department

- Select a Recipient to send the file to. Click the “Send” button.
Delete/Undelete
- Click “Delete” button or “Undelete” button to change the status of a file item to delete/undelete. Utilize Search to locate any previously deleted files to undelete.

Add Task
- Click “Add Task” button to task a department or user within the system

- Add a Description for the task
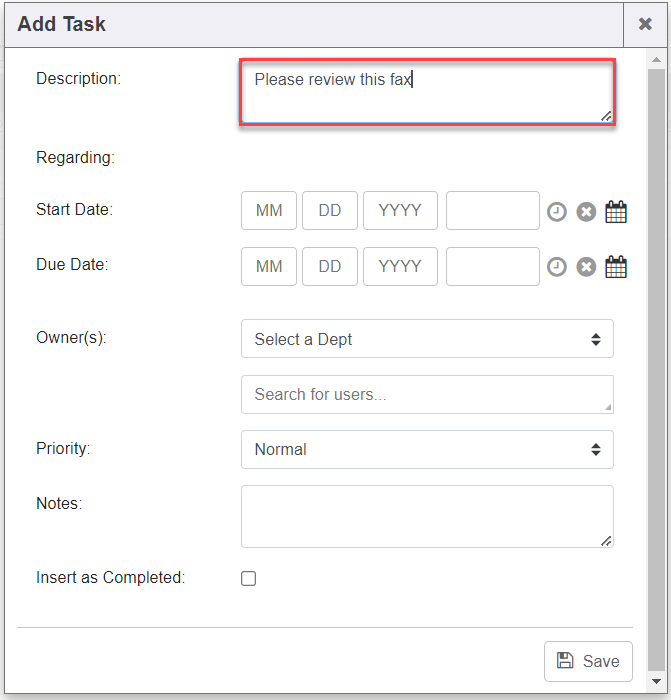
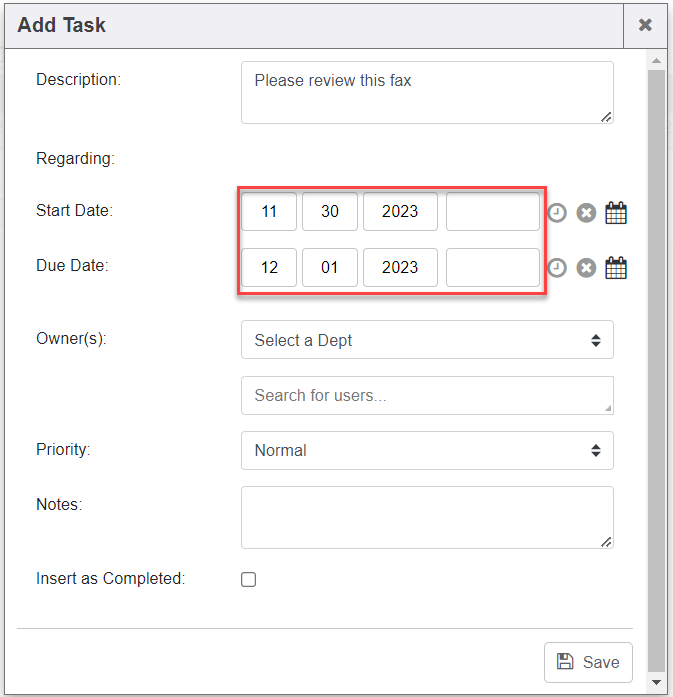
- Add a Start Date and Due Date
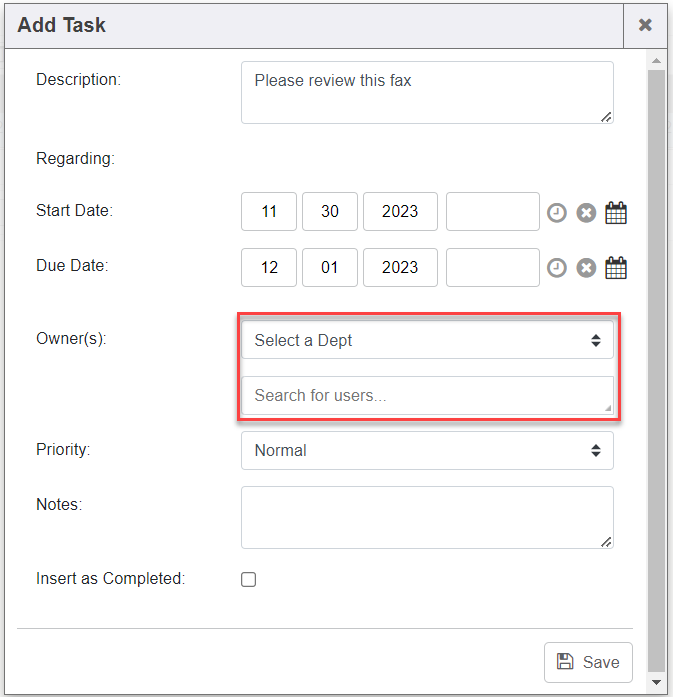
- Select the Owner(s). This can be either a Department or User.
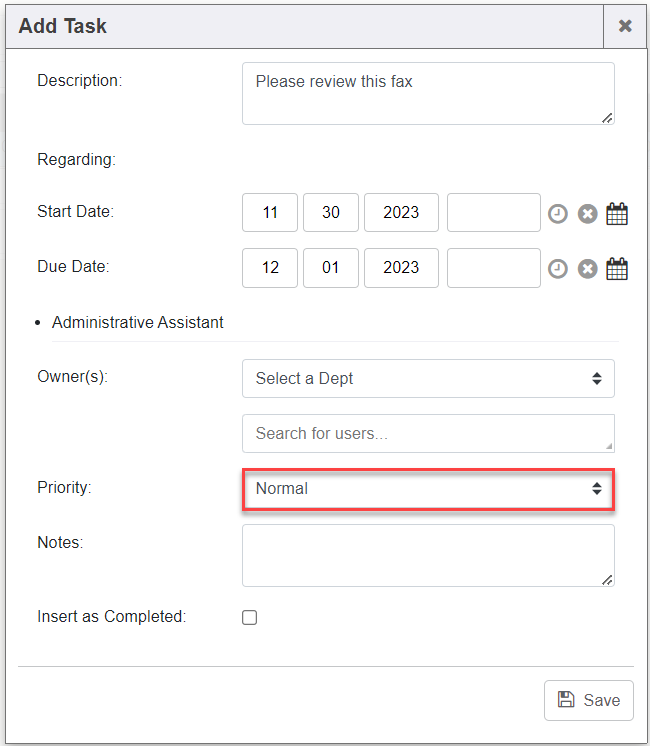
- Select a Priority, if needed
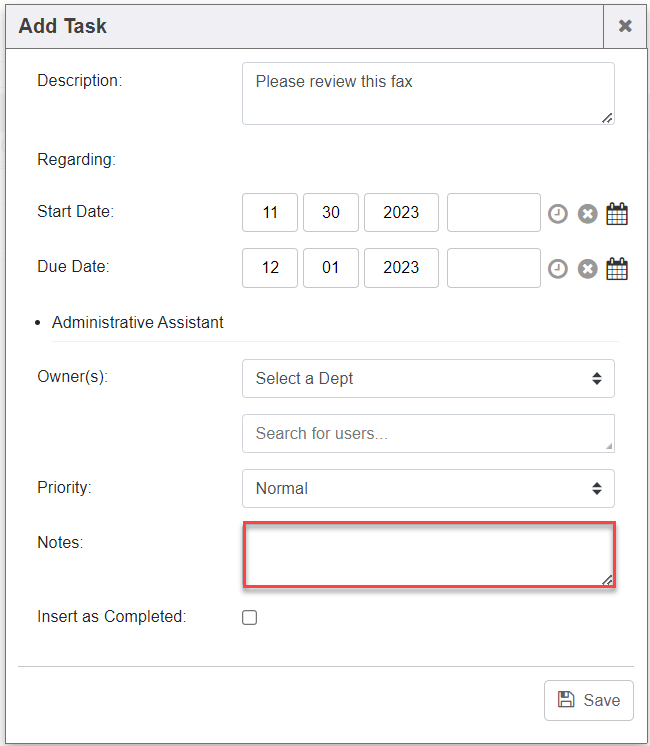
- Add any Notes, if needed
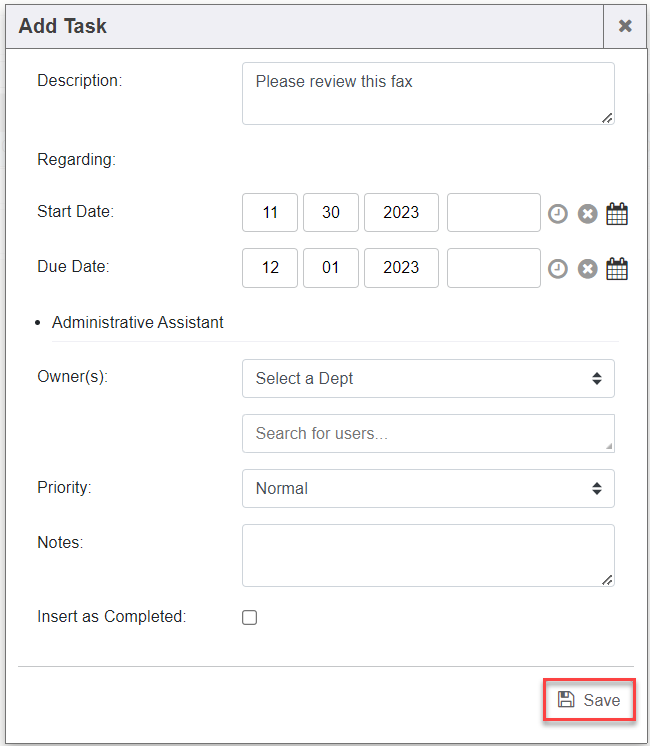
- Click “Save” button
Create Batch
- Click “Create Batch” button

- Go to Webscan to then index the batch by clicking Open

Create Batch & Index
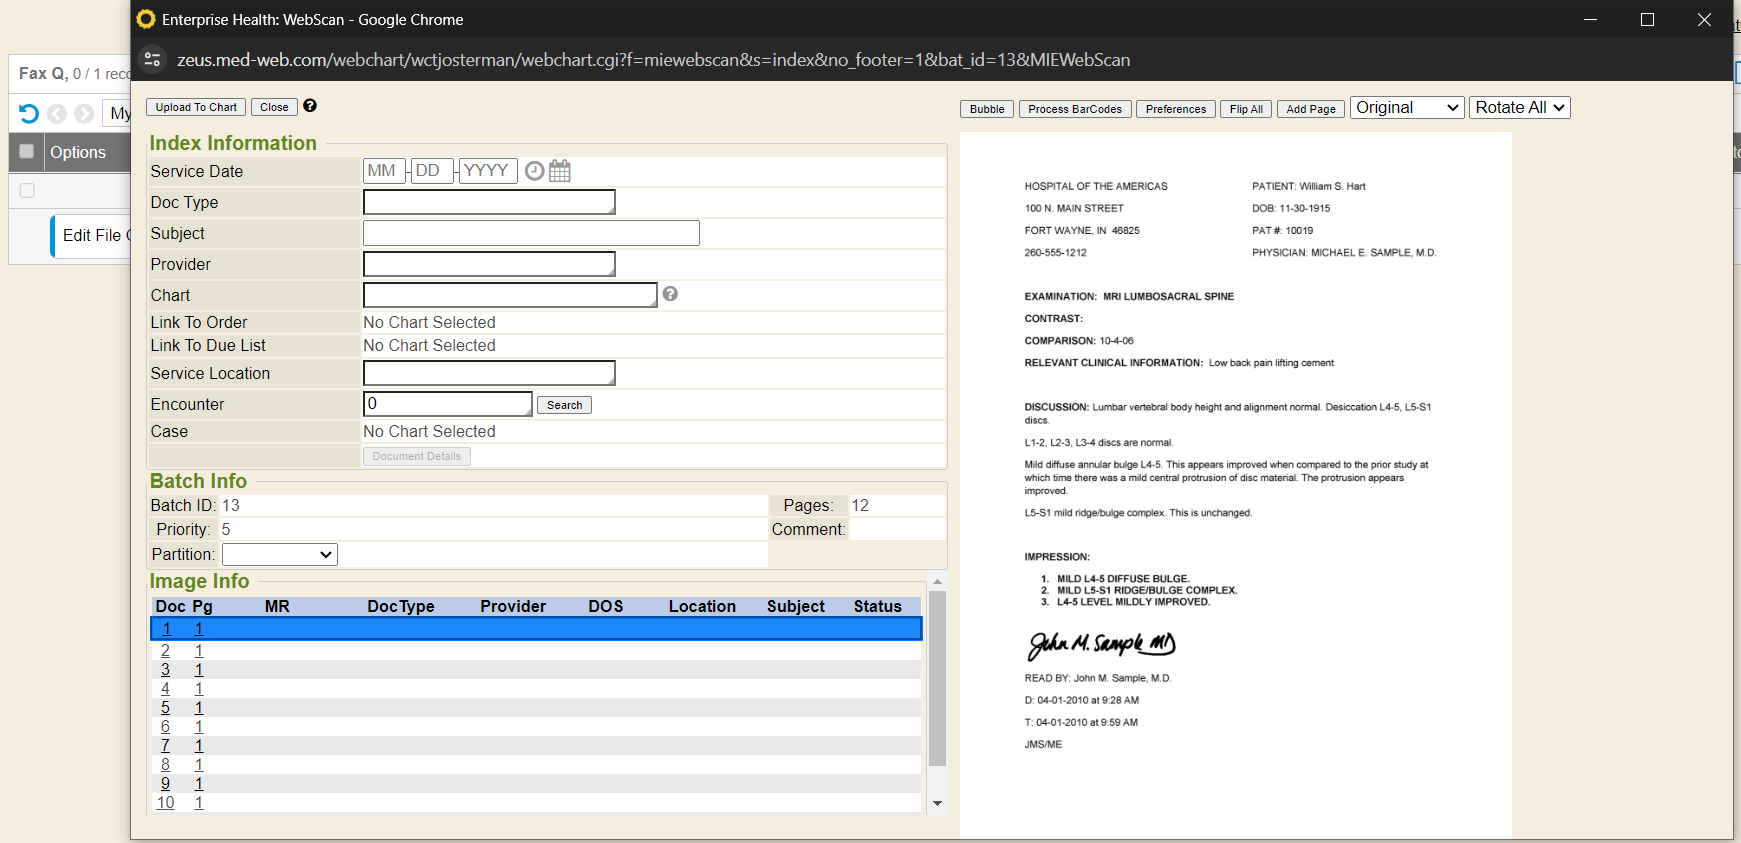
- Click “Create Batch & Index” button

- The batch is created and instead of going to Webscan, the index page automatically pops up
Open File
- Click Open and the file will open in a new window
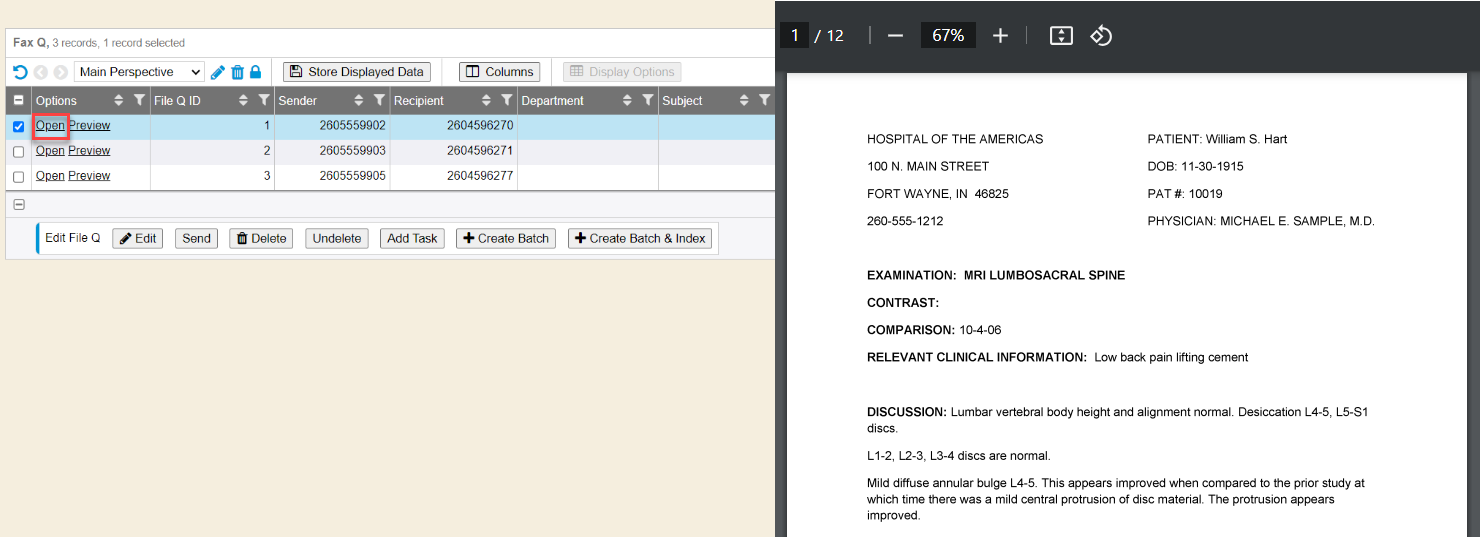
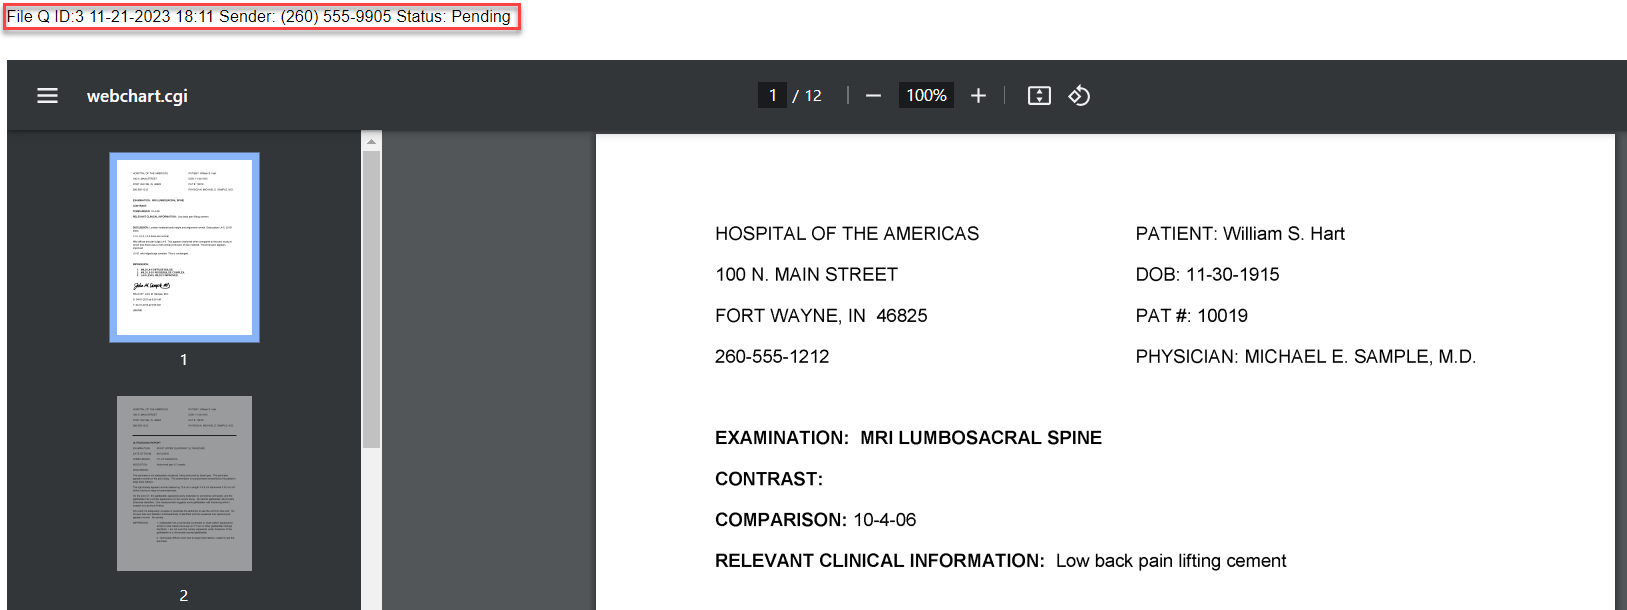
- In the new window, at the top of the screen, summary information displays. The summary includes the File ID, Date and Time it was created in the queue, the Sender’s fax number, and the status.
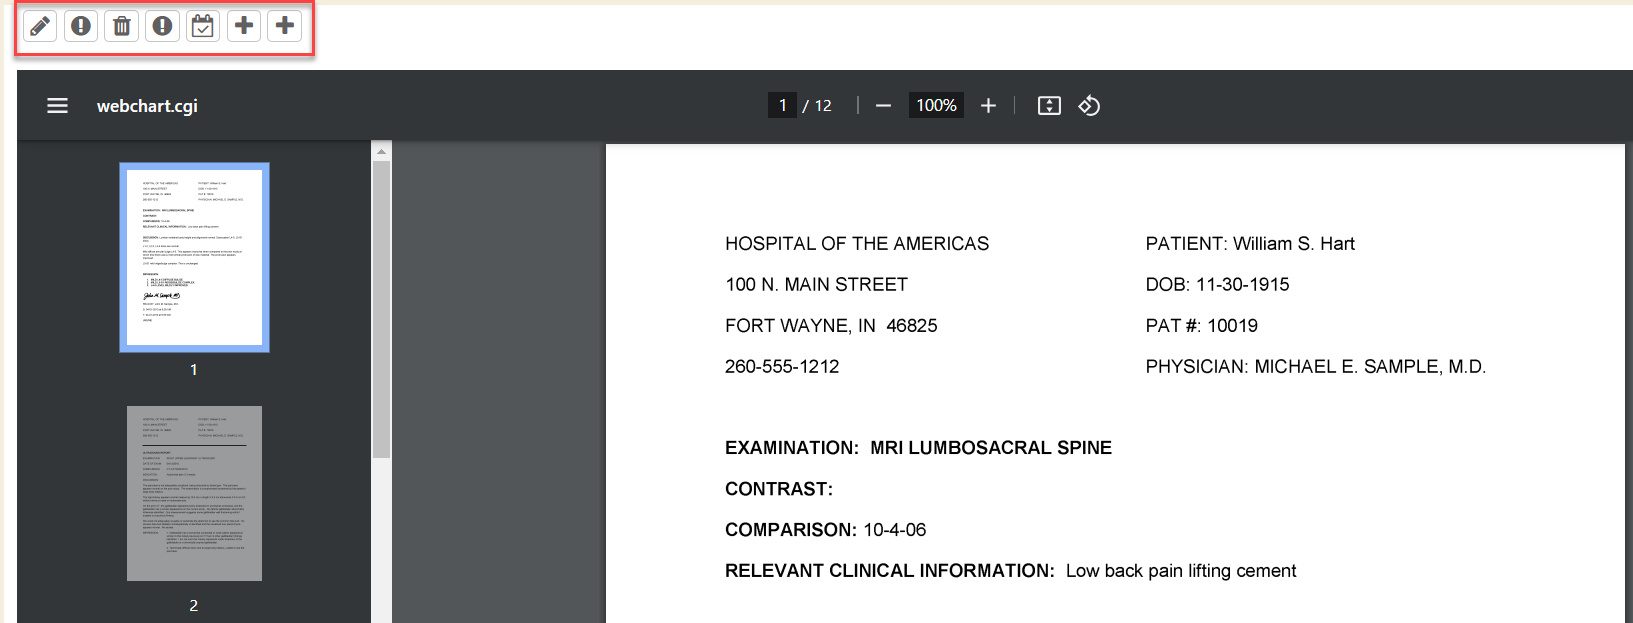
- If a user hovers over the summary information, a set of shortcut icons appear. The icons coincide with the grid options that display at the bottom of the File Queue. Here is what each icon does:
- Edit (Pencil Icon): Edit the Category, Recipient number or subject

- Send (Filled Circle w/ Exclamation Point Icon): Send to a different recipient/department

- Delete (Trash Can Icon): Delete from the fax queue

- Undelete (Filled Circle w/ Exclamation Point Icon): Undelete from the fax queue
- Task (Pad w/ Checkmark Icon): Task the document to a department or user within the system

- Create Batch (Plus Sign Icon): Create a batch

- Create & Index (Plus Sign Icon): Create a batch and immediately index the document(s)
Preview File
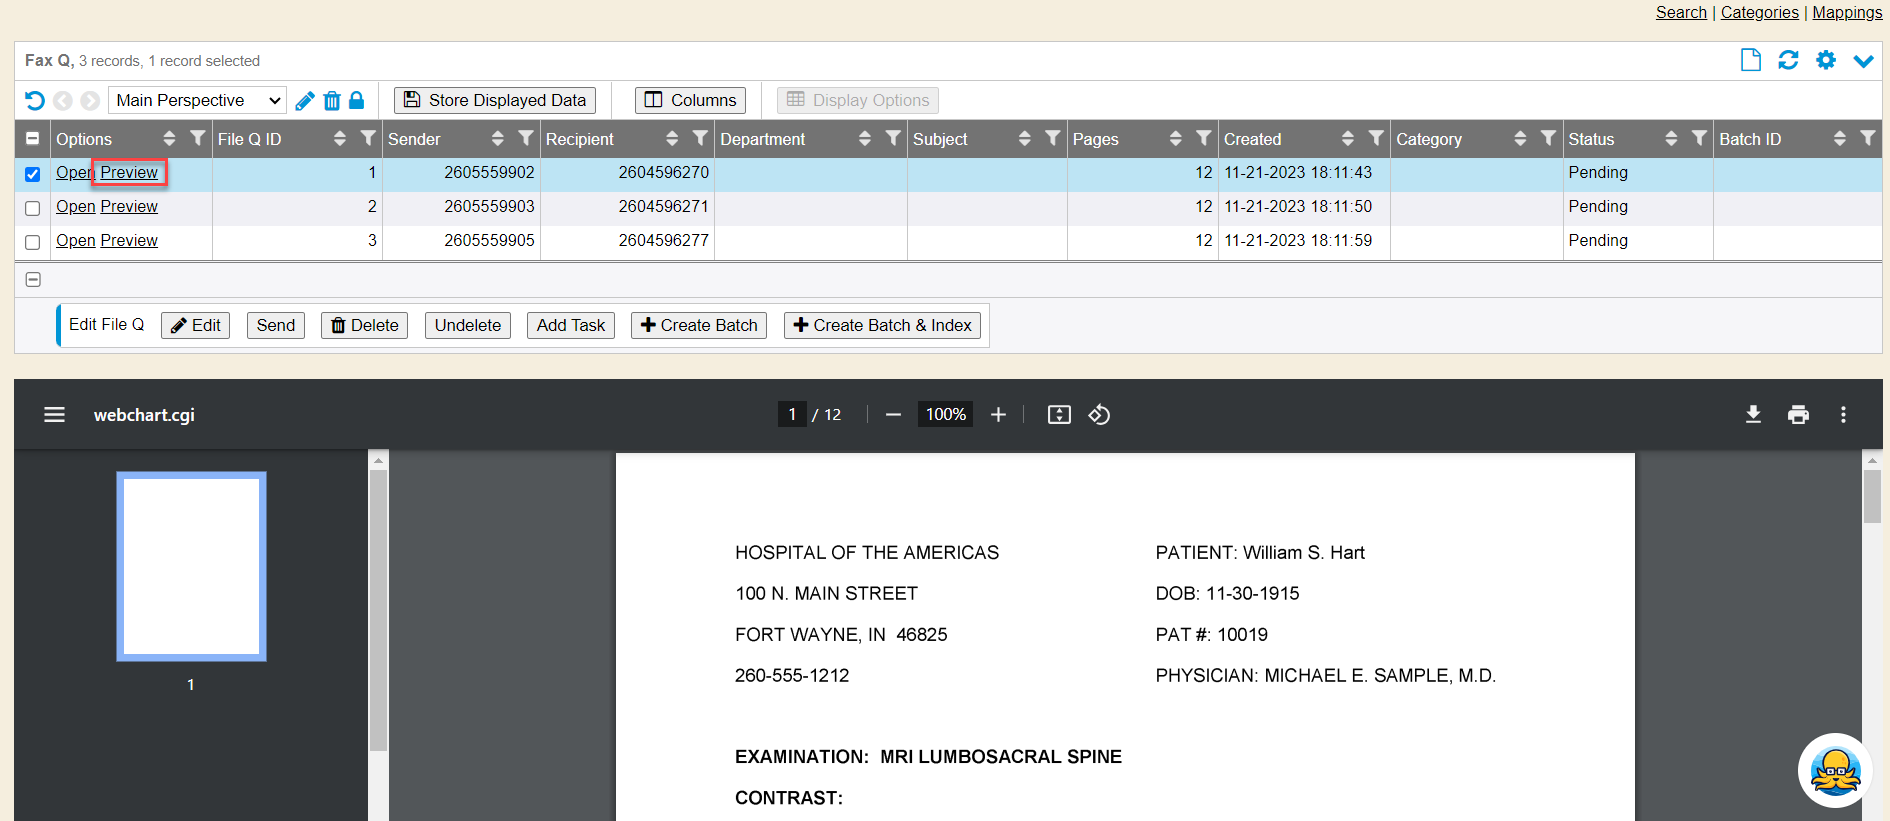
- Click Preview and the file will display below
Learning Management System
To learn more about the Incoming File/Fax Q Set-Up and Documentation, follow the link below to the Learning Management System course: